If you have not used the Dolphin Anty anti-detect browser and do not have it on your PC, follow a few simple steps to start work.
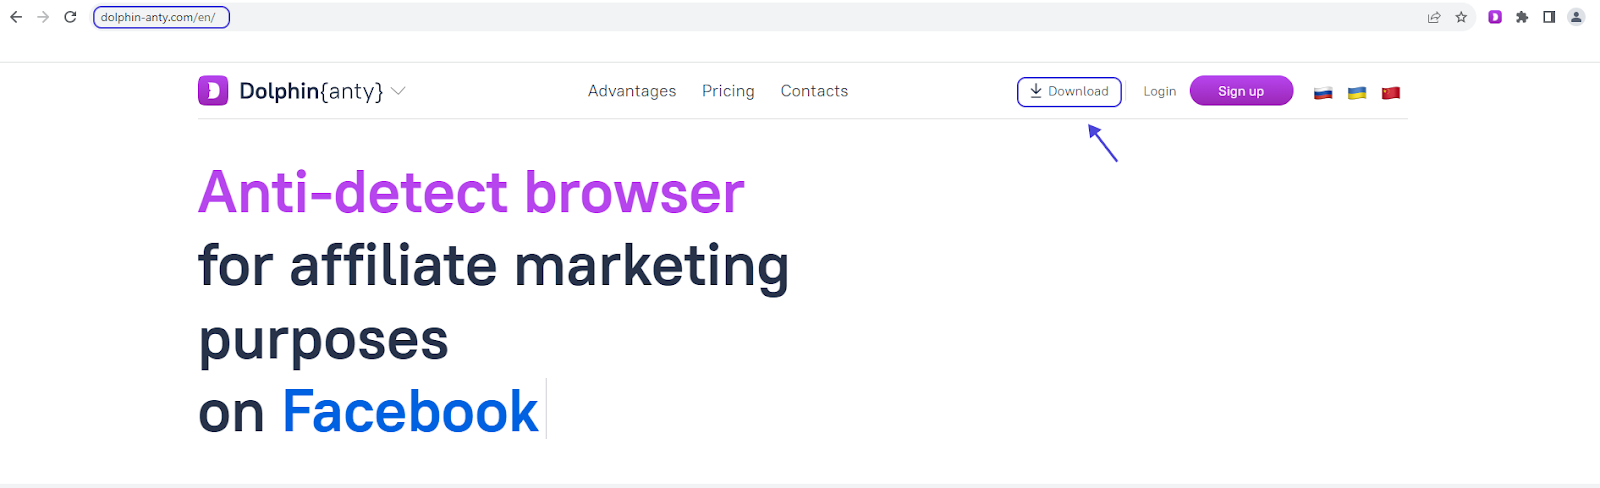
1. Go to the https://dolphin-anty.com site and click “Download” (fig. 1). Always use only the developers’ or official representatives’ sites to download software. The download will happen automatically.
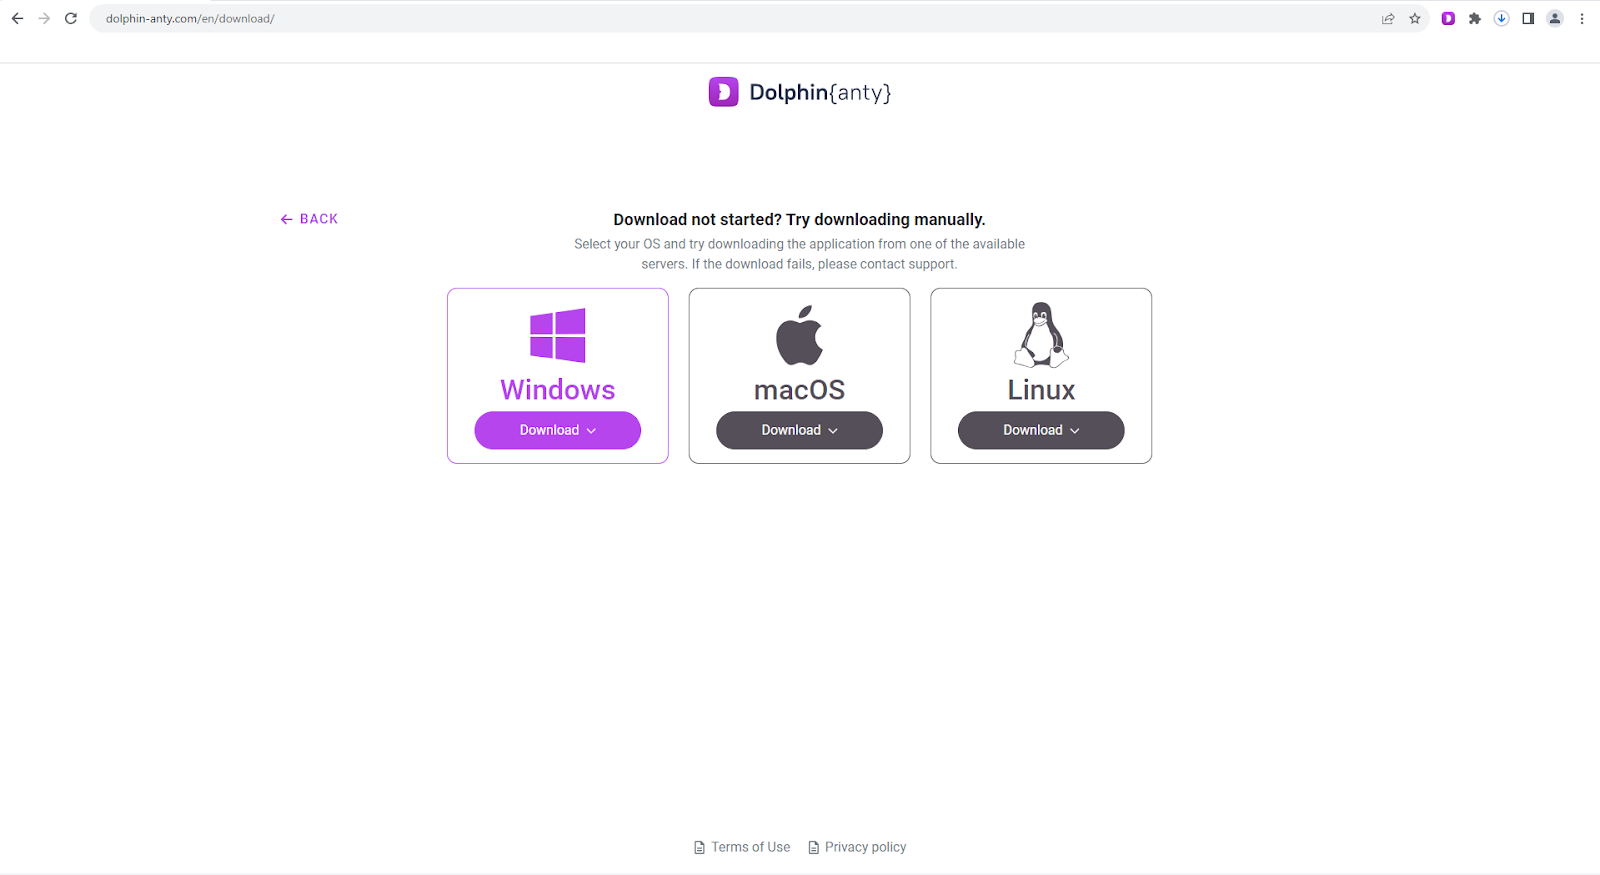
Otherwise, you will be suggested to select your OS and click “Download” under the respective icon (fig. 2).
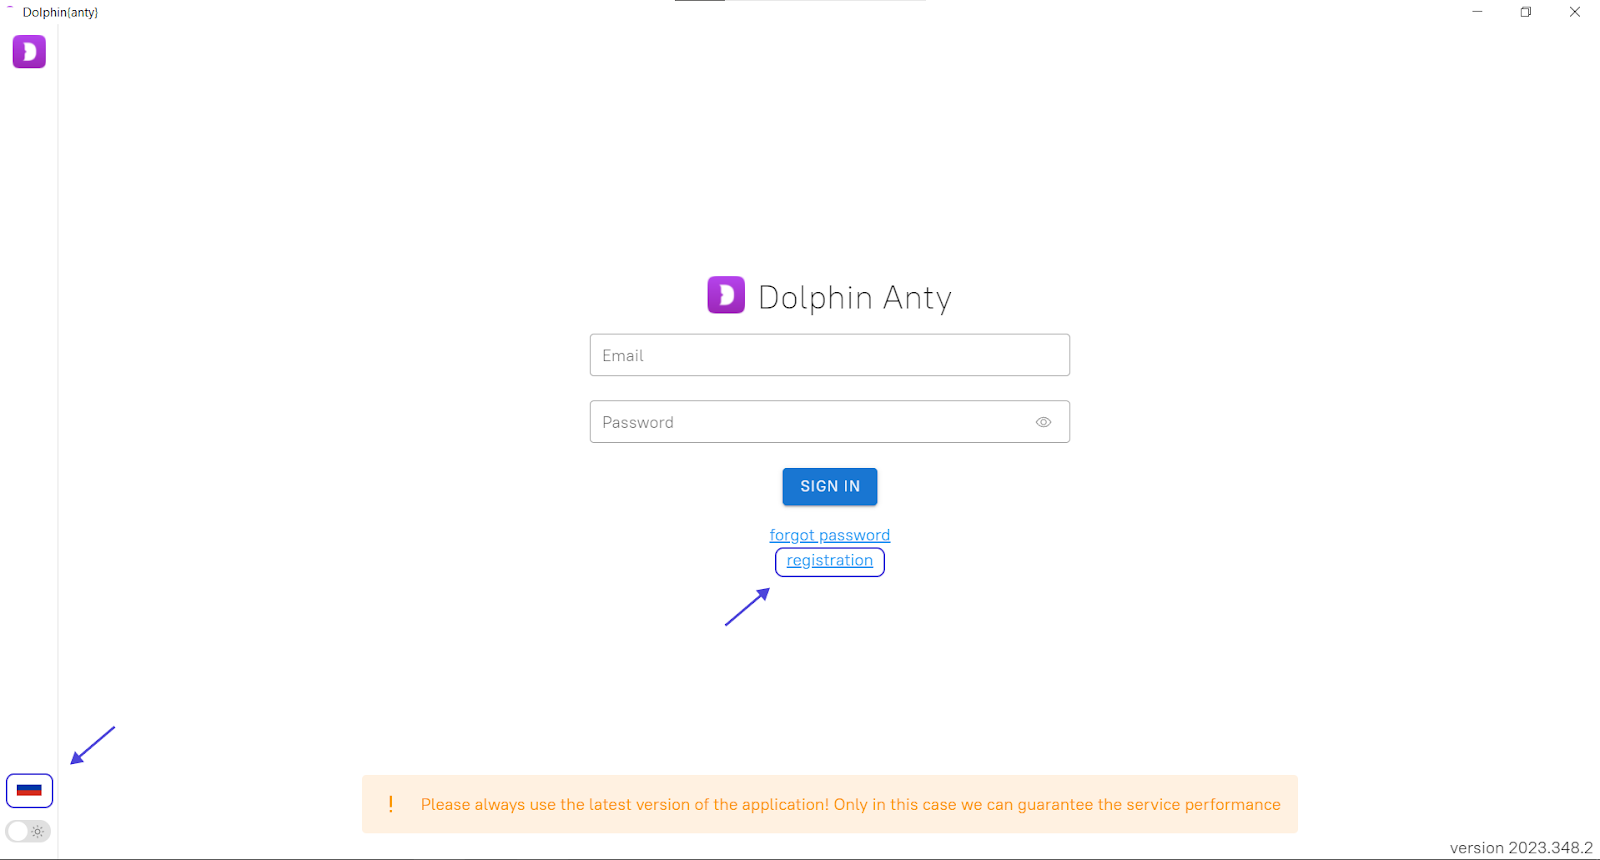
2. Install the browser to your computer.
3. Register the account (fig. 3).
You can change the language to Russian if necessary. Click the flag in the bottom left corner to do so.
Now, you can start the profile setup. As an example, we used a datacenter proxy from the “for all proxies” category. However, this guide applies to mobile and residential proxies as well.
4. Click the “Create profile” button (fig. 4).
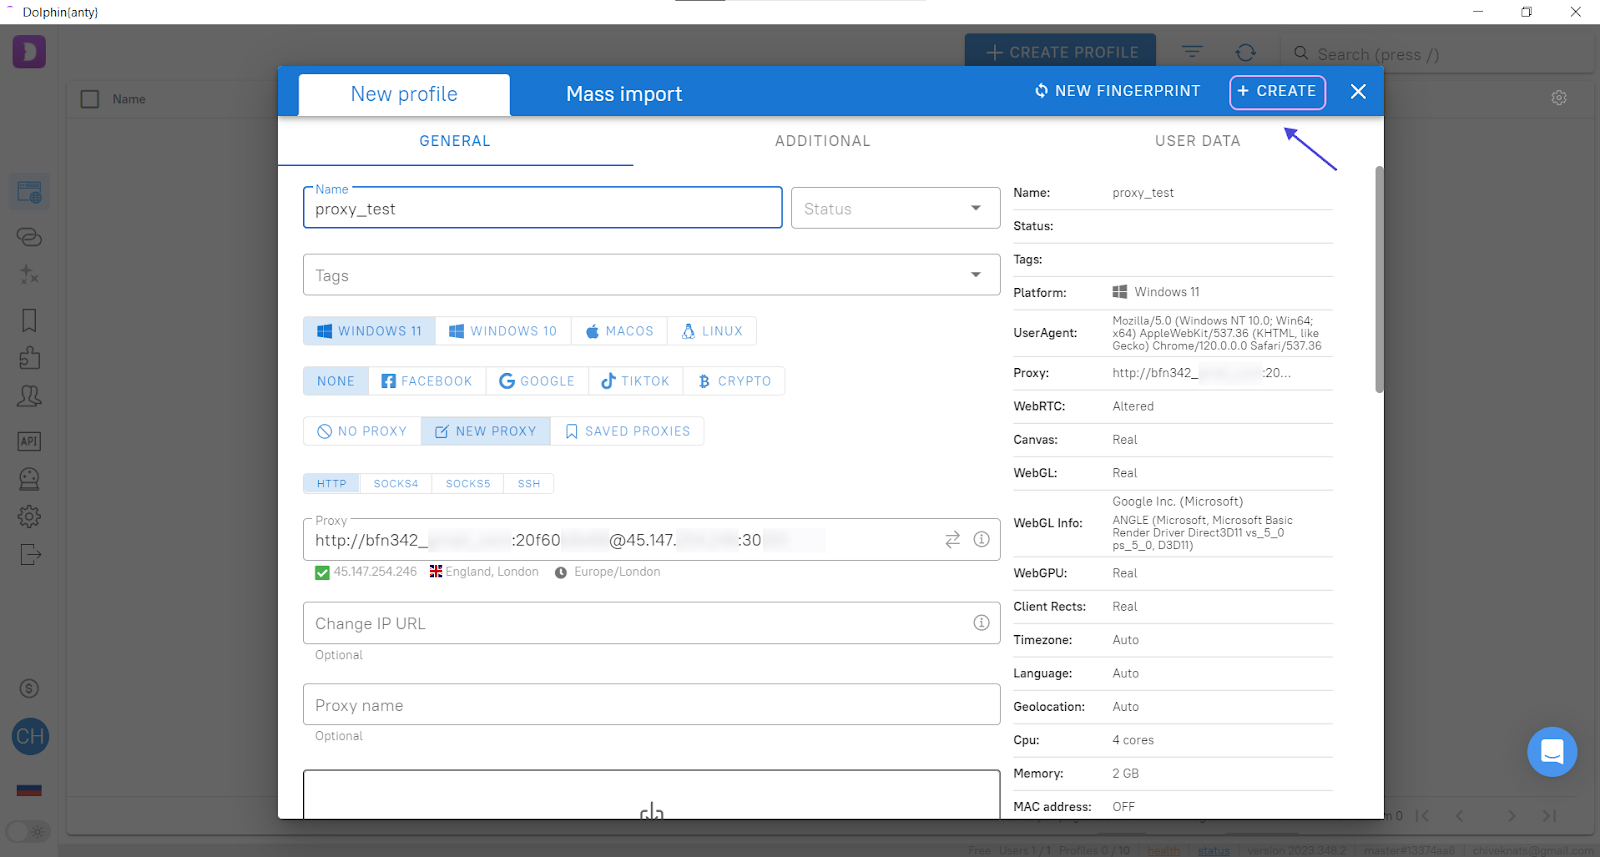
5. Proceed with the profile setup and perform the following steps (fig. 5):
1) Name the profile (1). It can be anything, and you must fill this field.
2) Establish the profile status (2) and a specific tag (3).
It is a convenient option in case you have many profiles. For example, you can specify the account you use the profile for. However, you do not have to fill this field.
3) Select the OS the browser should emulate (4). You can select Linux OS or MacOS if there are specific requirements. If there are not — the best option is to use the operating system installed on your computer.
4) Select the service you create the profile for (5).
Dolphin Anty allows selecting services the profile will be used with (Facebook, Google, TikTok, or Crypto).
Select the “None” profile by default.
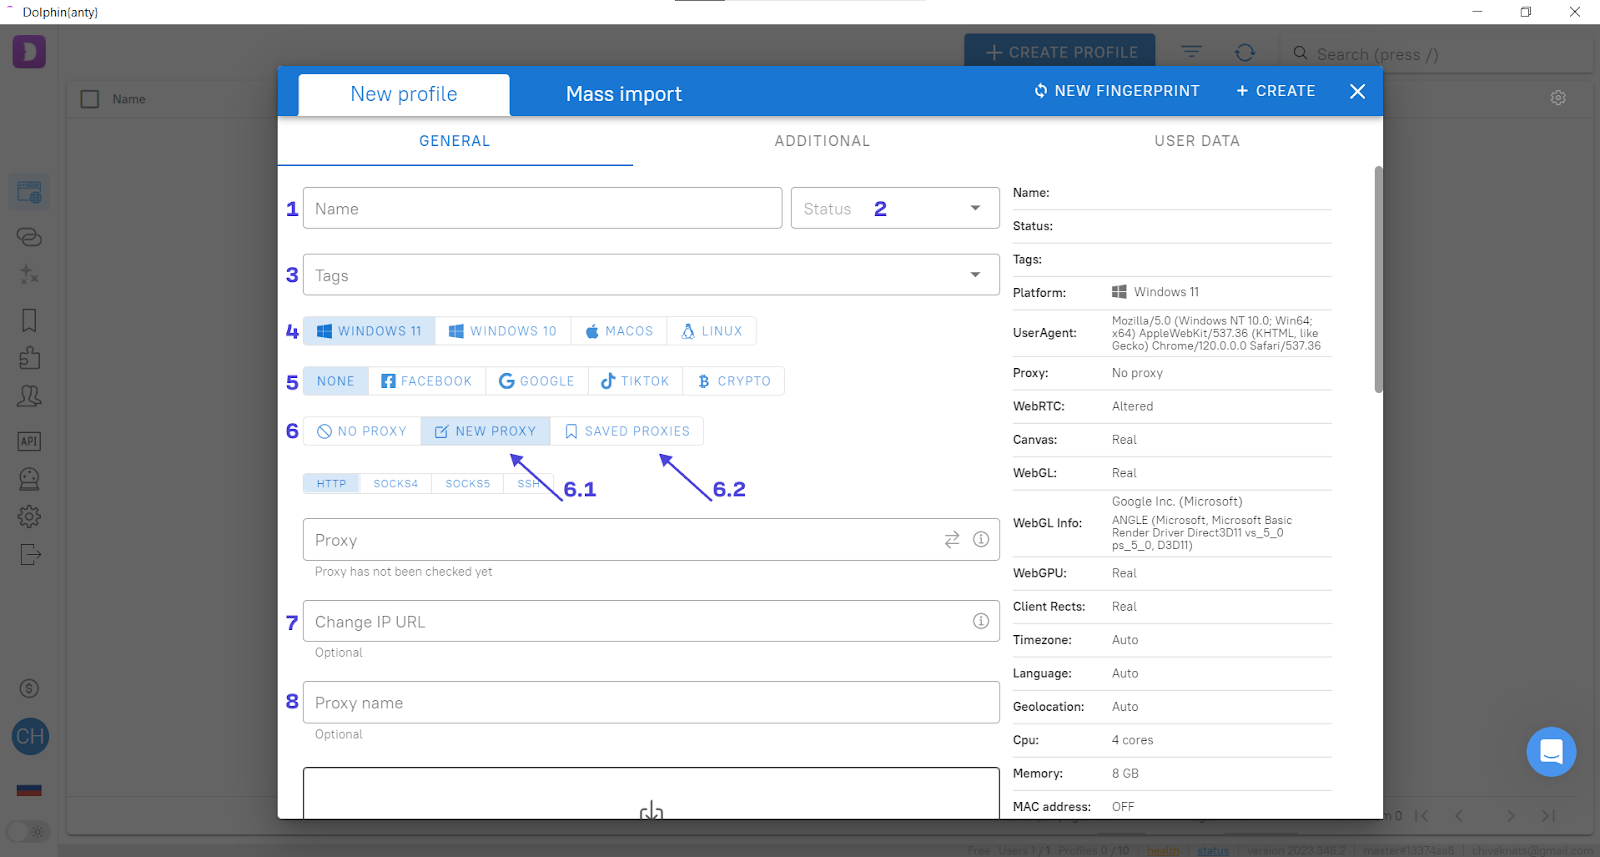
5) Add proxy settings when creating the profile (6.1, figure 5).
This method is handy when you have one proxy.
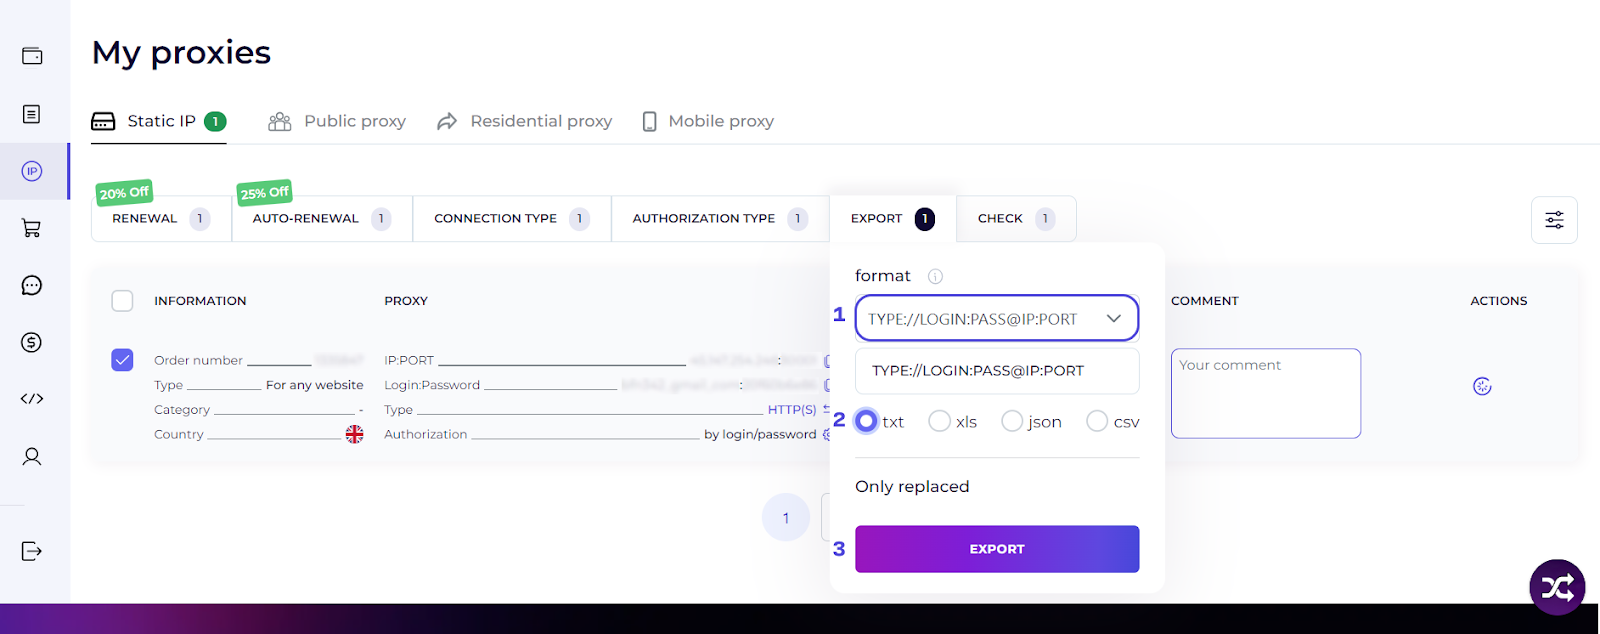
First, export the proxy data from your personal account. When exporting, select the following format: TYPE://LOGIN:PASS@IP:PORT (fig. 6). Using this format, you do not have to choose the protocol manually in the browser, thus reducing the probability of mistakes during the configuration.
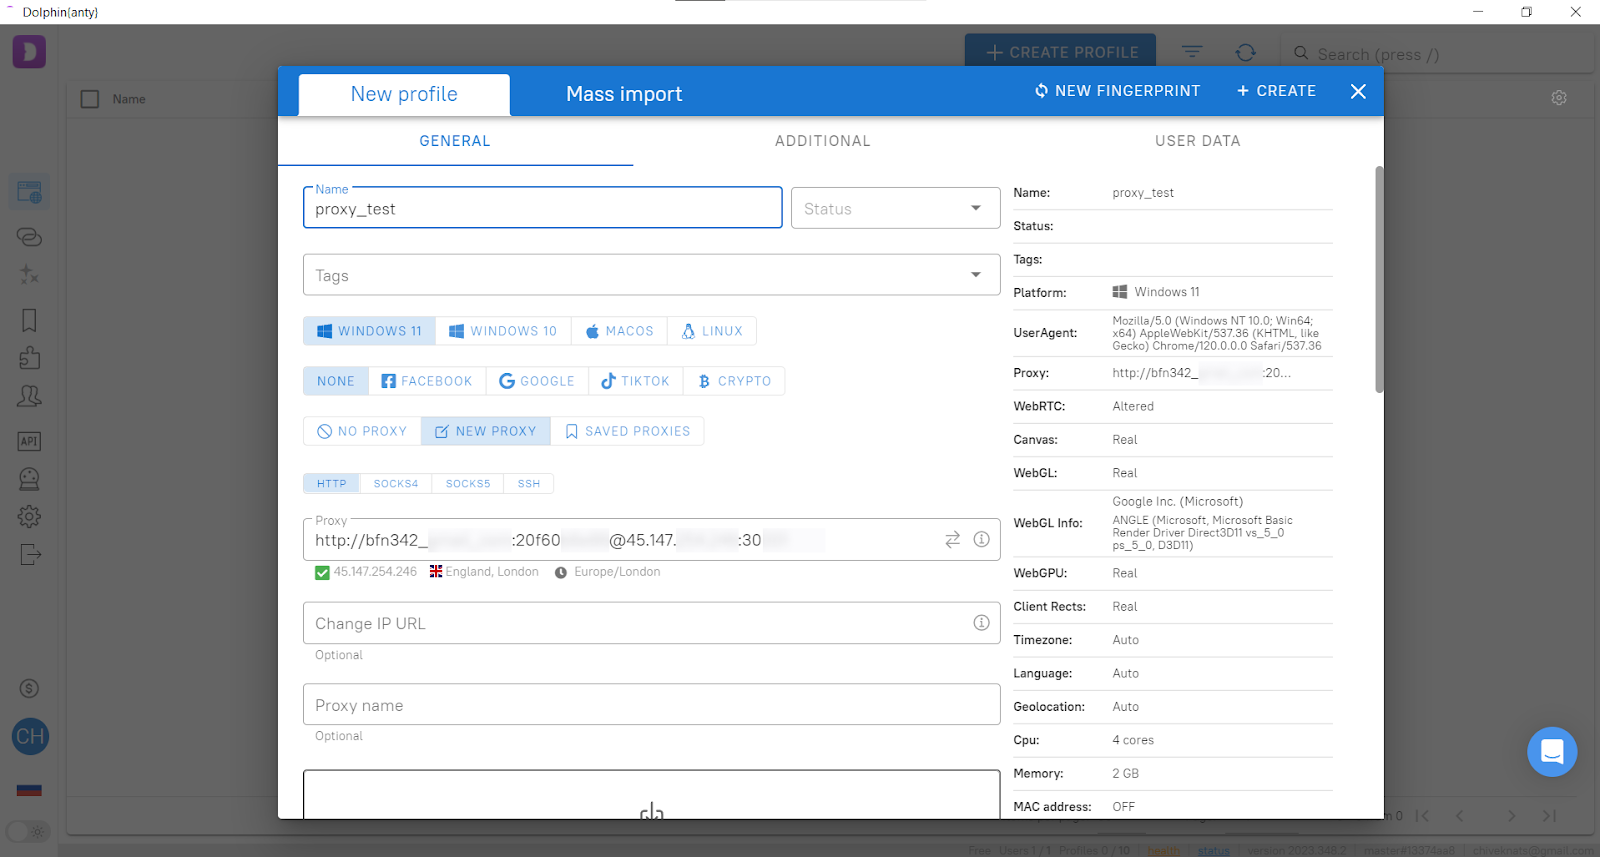
Copy the data you got from export to the profile (fig. 7).
6) As static proxy is used, “Change IP URL” (7, fig. 5) stays empty.
7) You can choose any proxy name. You do not have to fill this field and can leave it empty. (8, fig. 5).
Click the “+ Create” button in the top right corner after filling in all the mandatory fields (fig. 8)
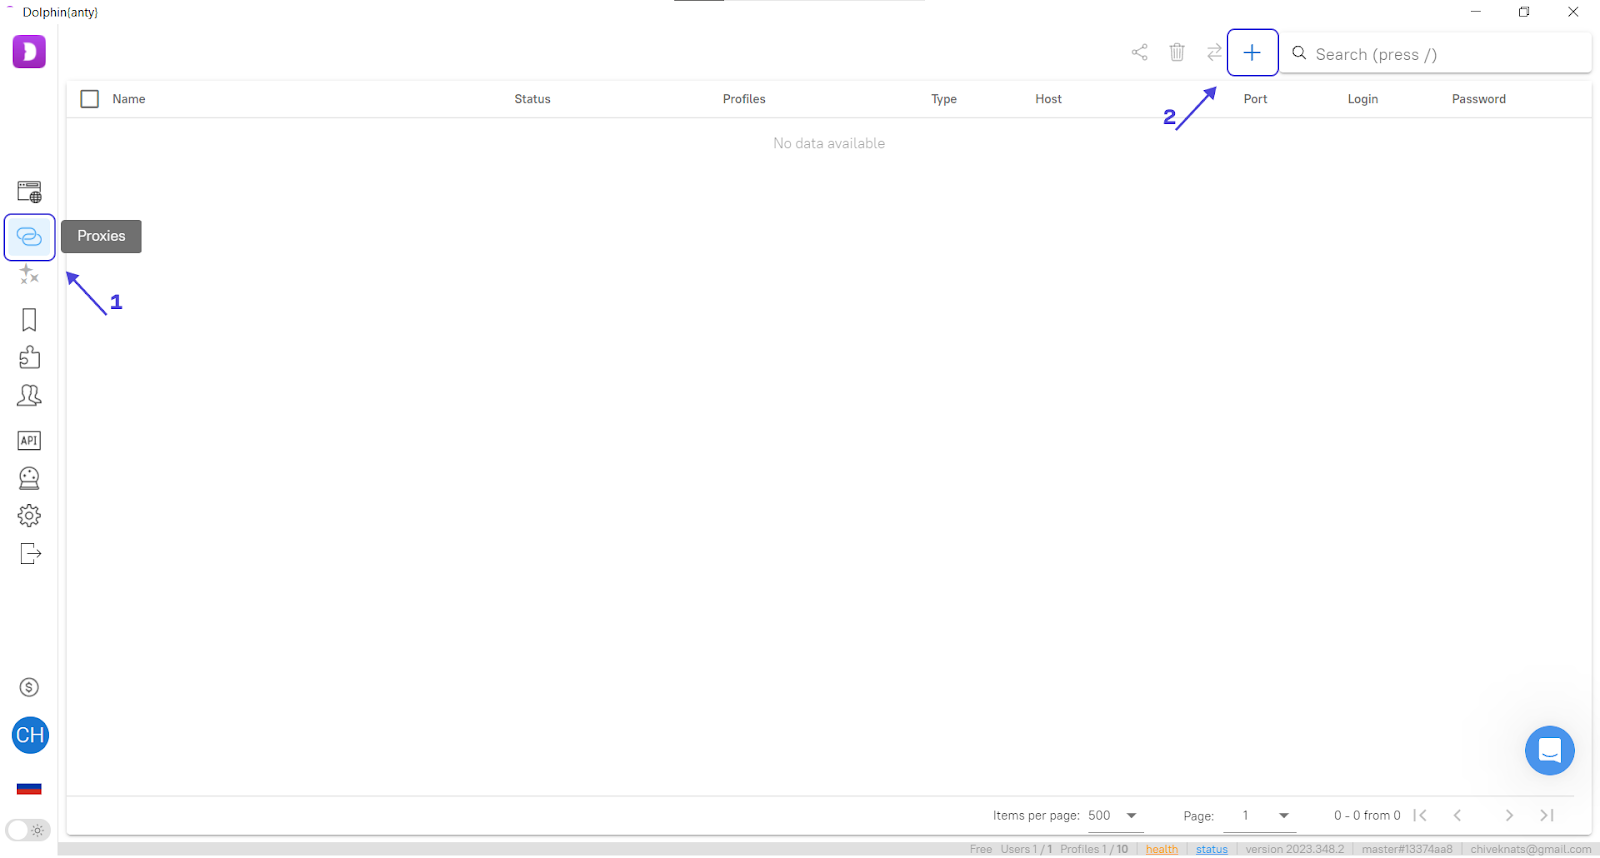
Remember: Each profile can be used without a proxy (i.e. using the Internet from your ISP) or with a proxy from a previously created list.
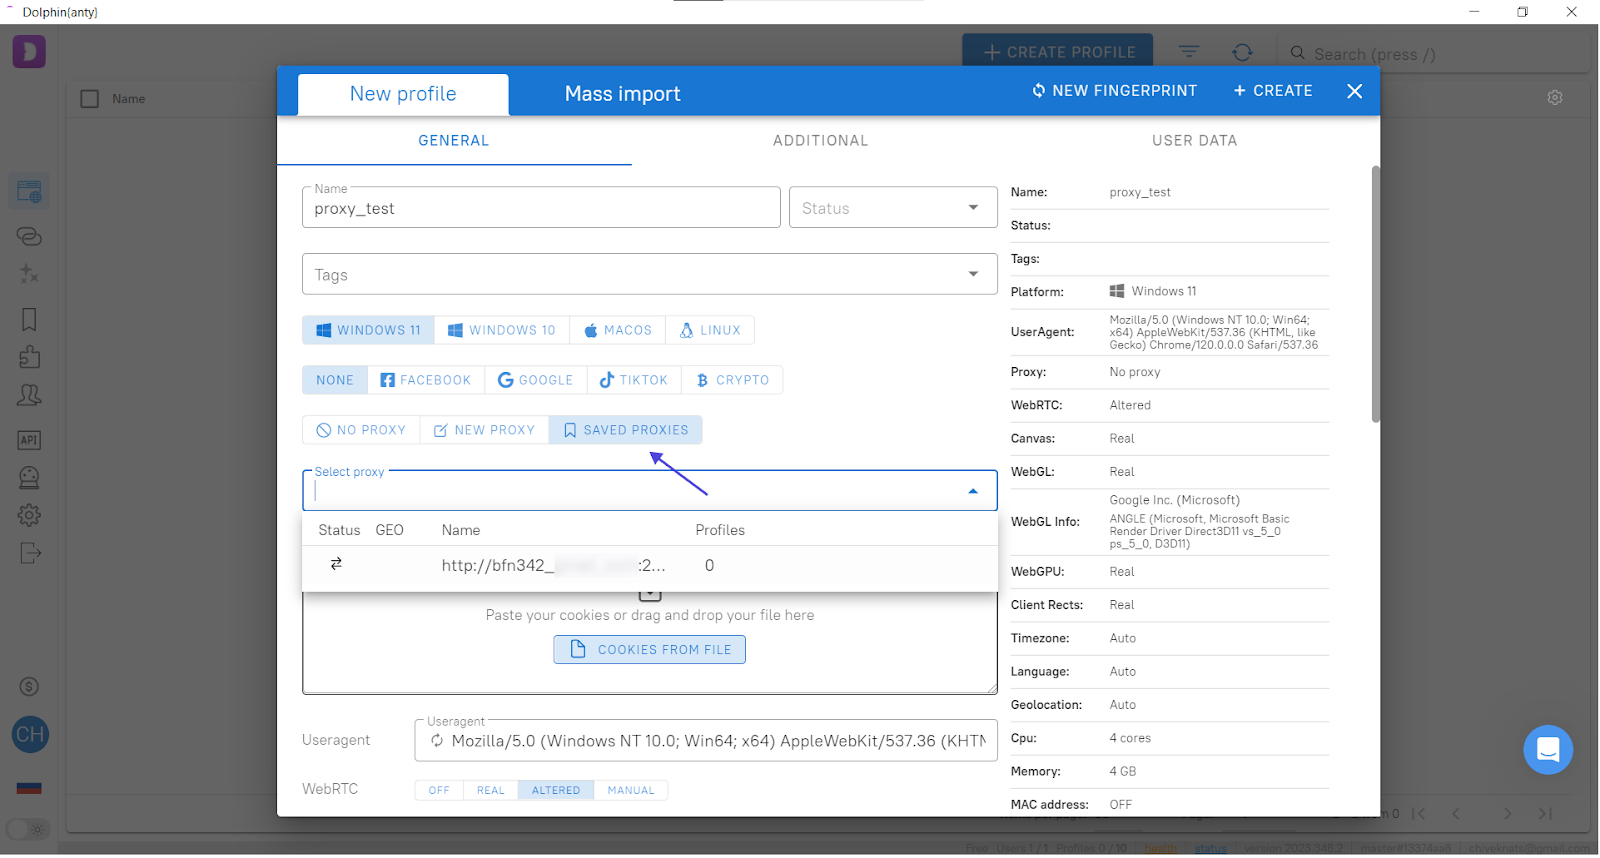
Create the proxy before the profile setup (6.2, fig. 5) to select it from the previously created list. To do so, click the “Proxy” icon and then click “+” (fig. 9).
You will see the menu where you should enter the proxy data (fig. 10). Remember, you have to export them from your personal account.
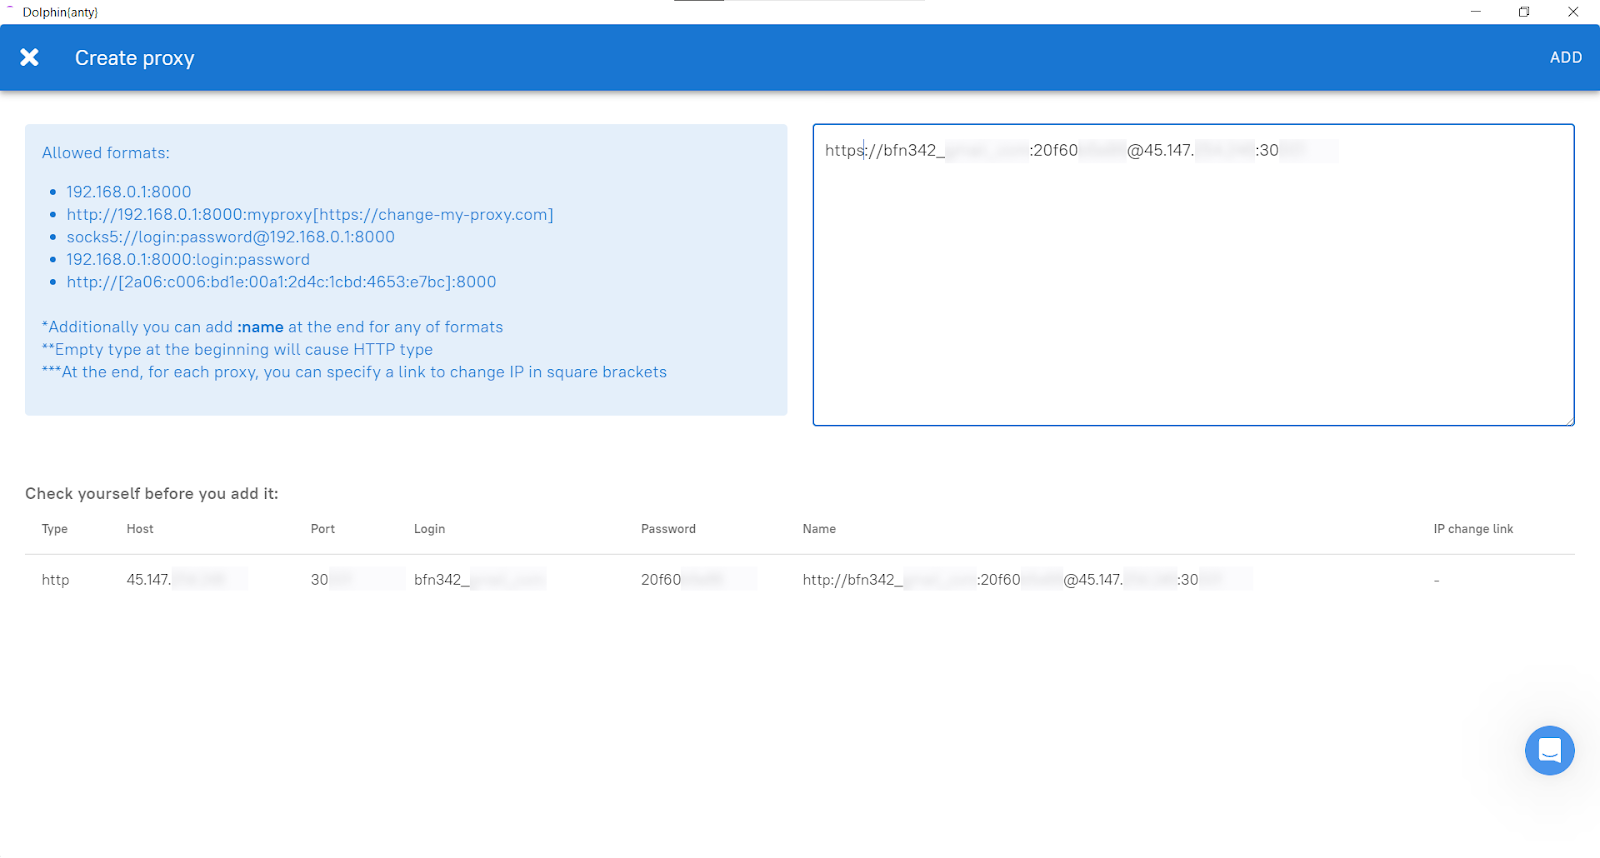
This method of proxy setup is convenient if you plan to work with a large number of proxies. To do so, export all proxies data at once and copy them to the browser.
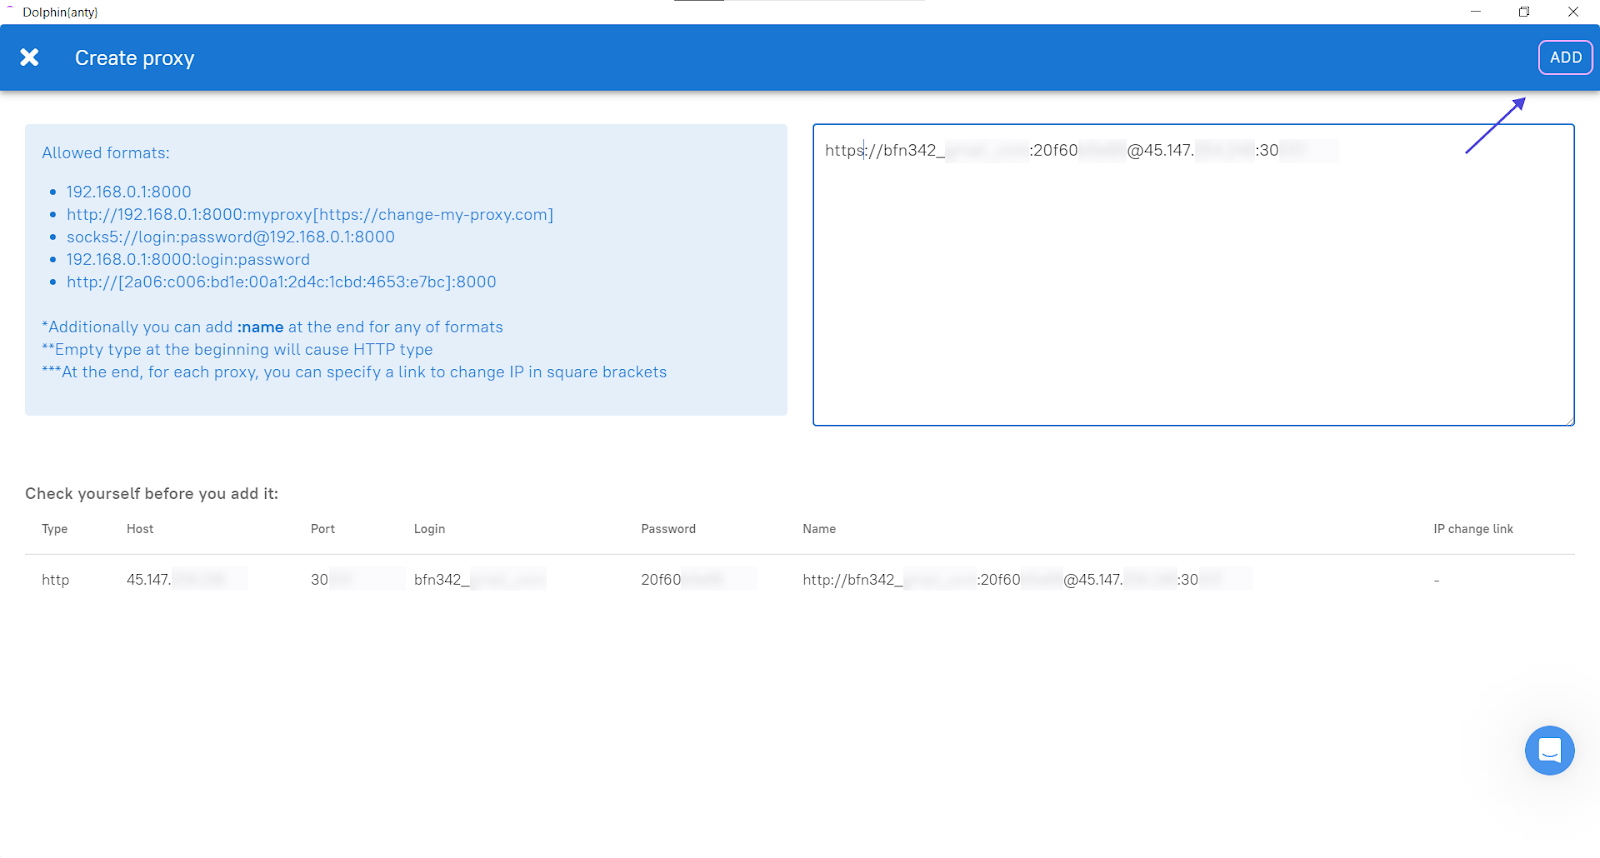
After entering data, click the “Add” button in the top right corner (fig. 11).
After adding the proxy, you can select the one you need for work in the profile creation dialog box (fig. 12).
Regardless of the method you used to add the proxy, profile creation should be finished by clicking the “+Create” button (in the top right corner of the dialog box).
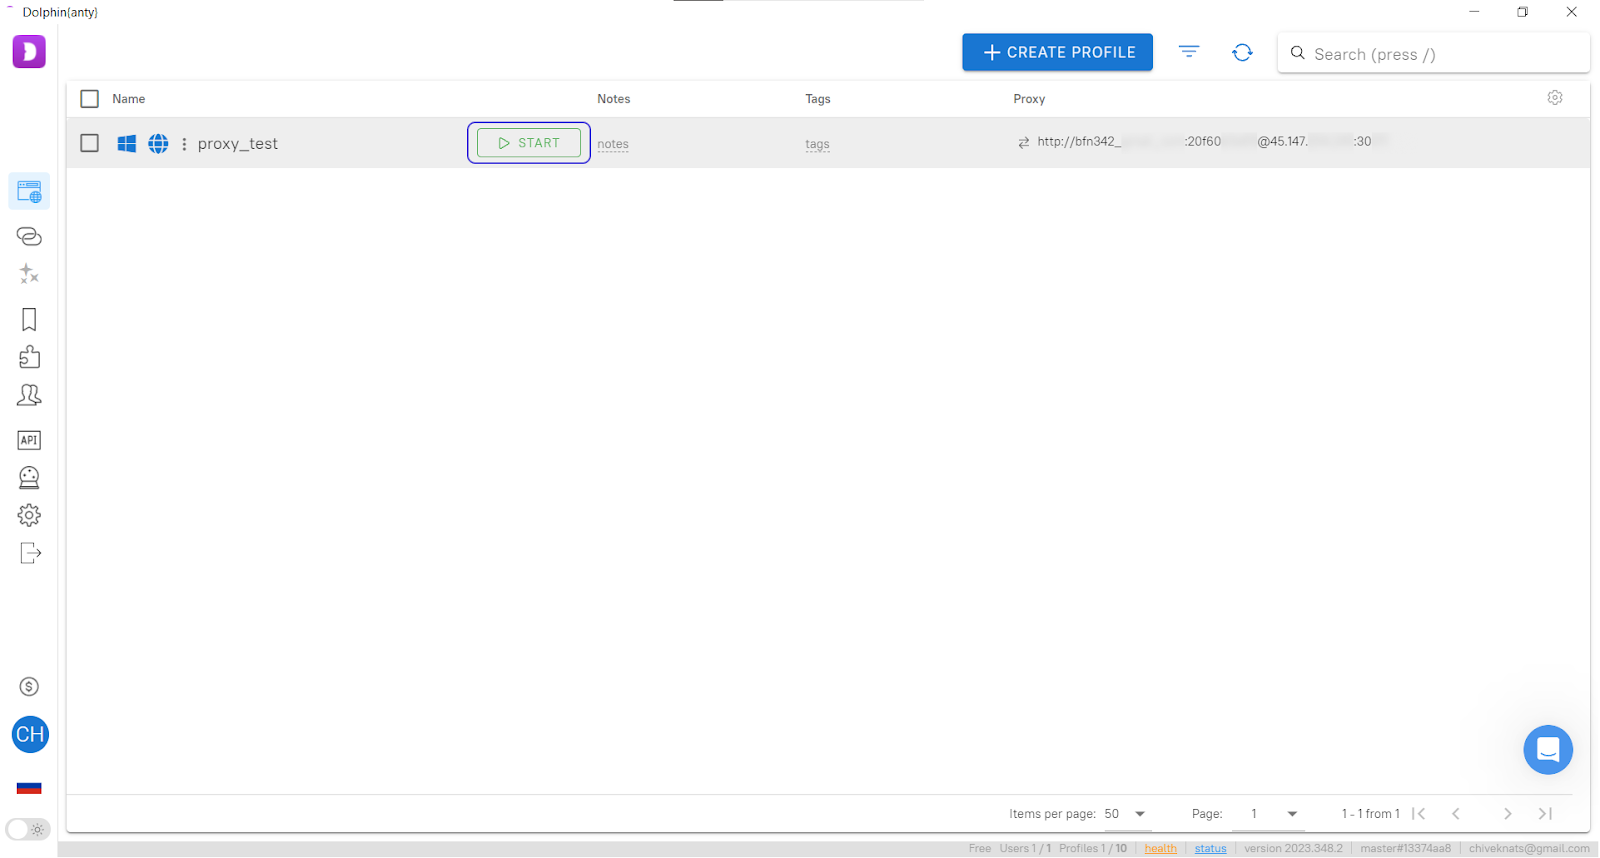
All done! You finished setting up the profile. Now, the profile is displayed in the list.
To start work, click “Start” (fir. 13), and the browser window will open.
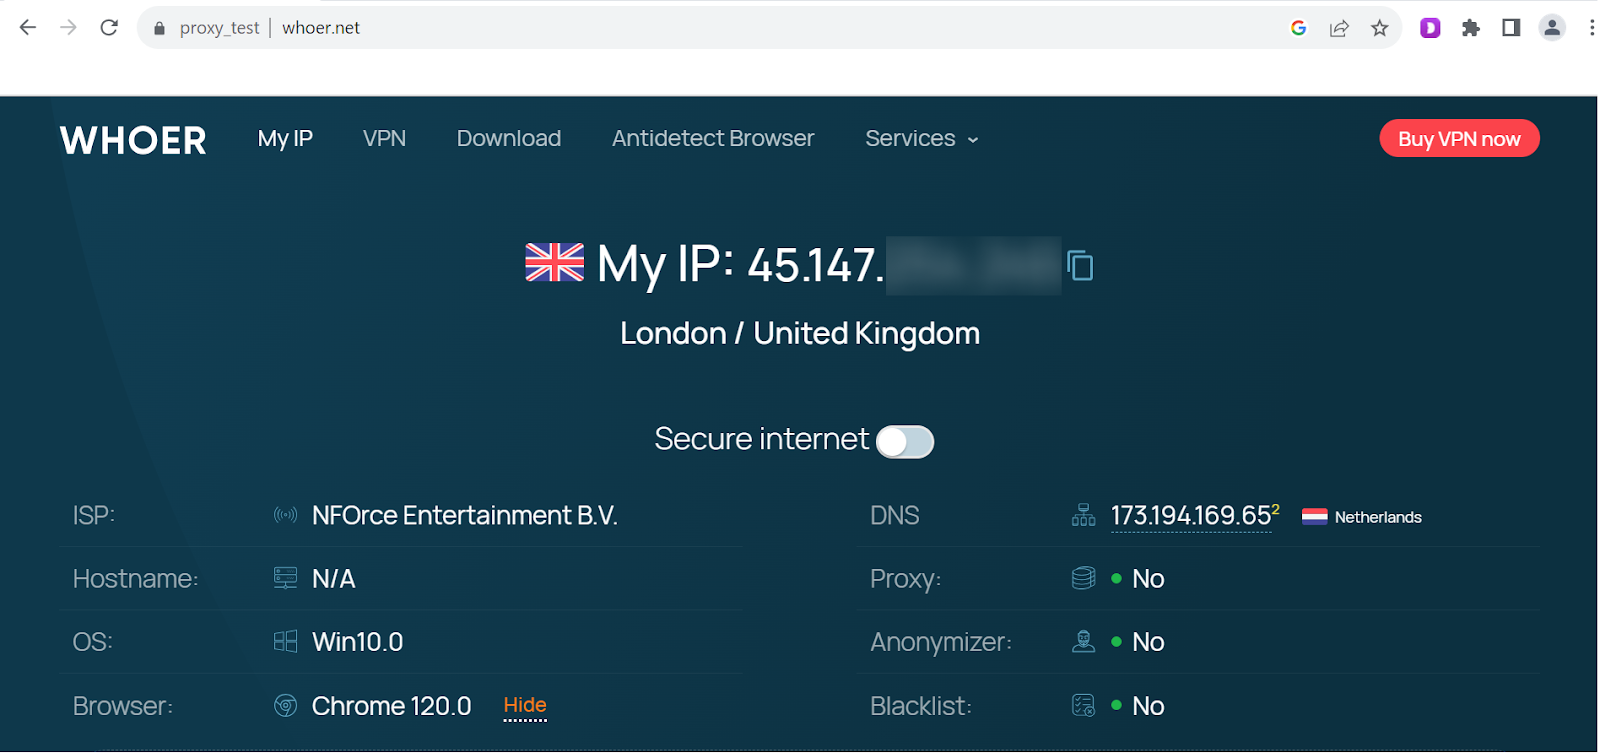
Go to www.whoer.net to ensure the proxy is operable and the profile is created correctly. The IP address on the site has to be the same as the proxy address you entered when creating the profile (fig. 14).
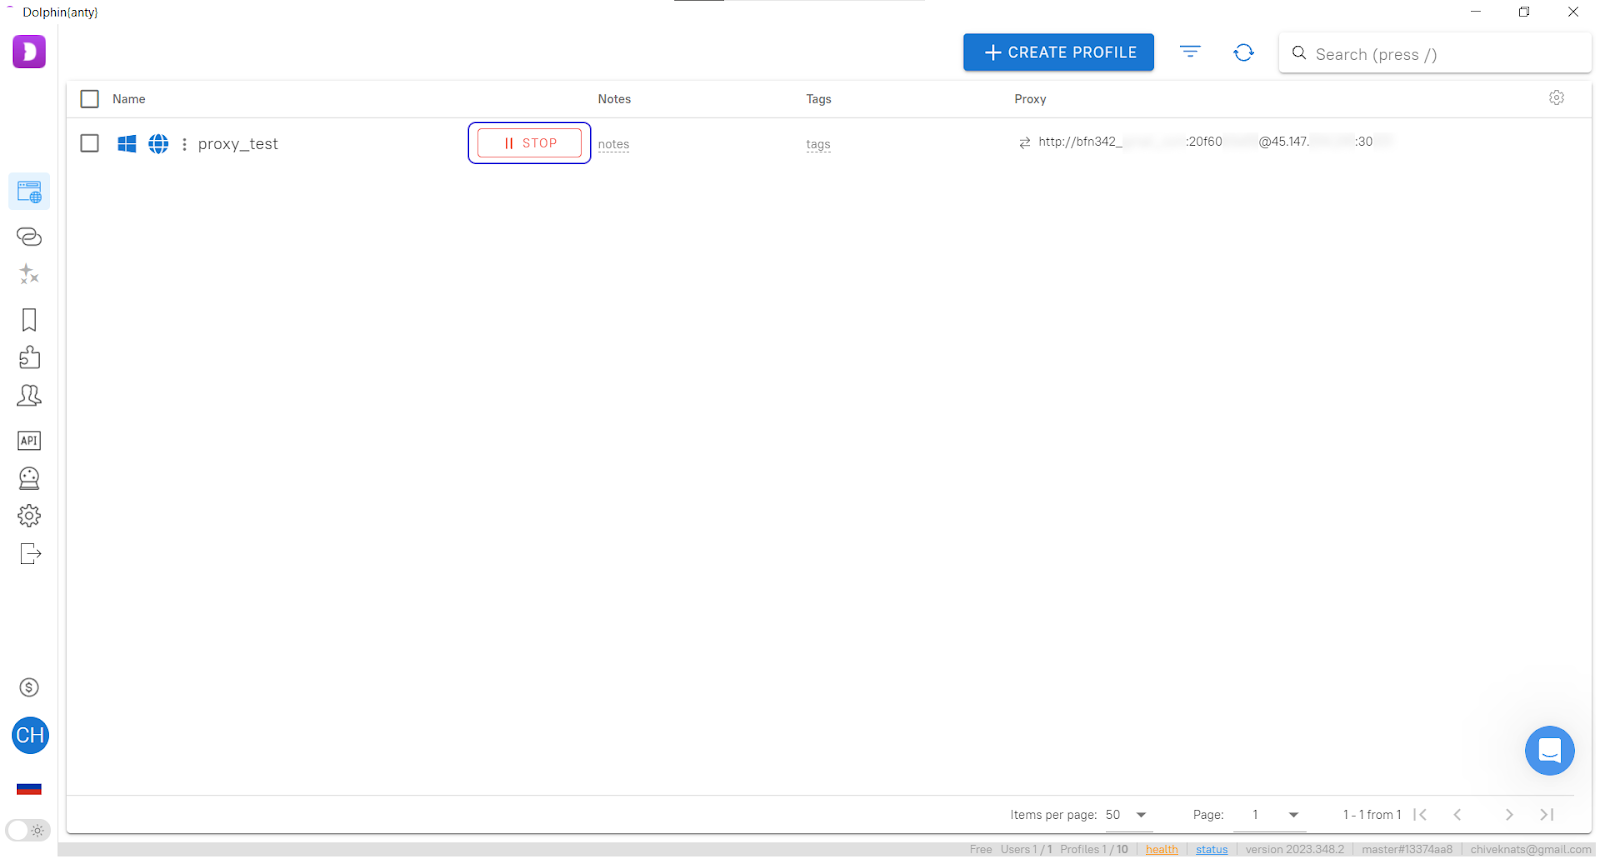
Click “Stop” when you want to finish the work (fig. 15).
⭐️ Try Dolphin anty free of charge with up to 10 browser profiles, or enter the PROXYSTR20 promo code during registration to get a 20% discount on any other tariff.